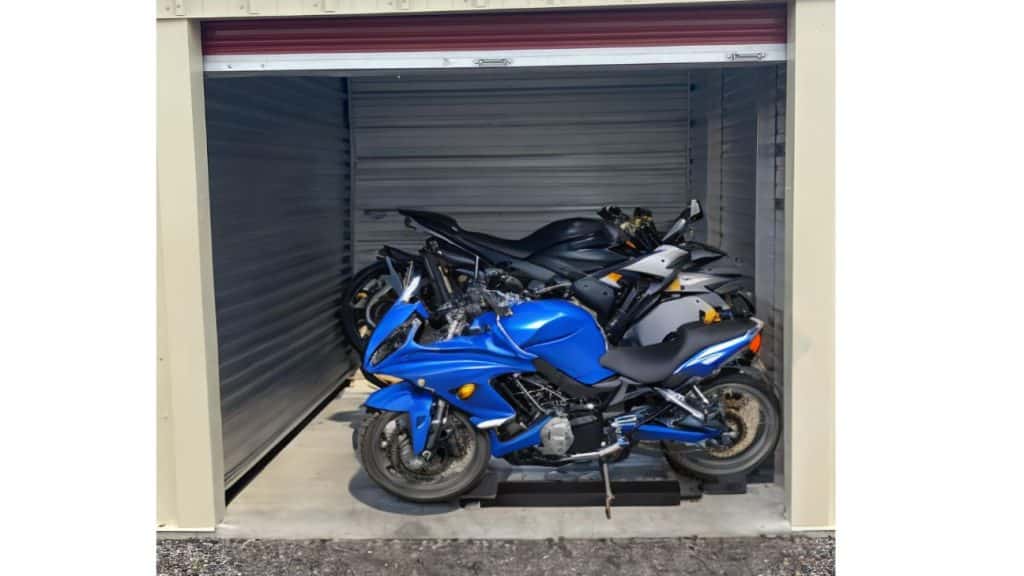
It’s essential for motorcycle owners to prepare their bikes for the cold season. Winterizing your motorcycle helps protect it from potential damage caused by the harsh elements and ensures that it remains in optimal condition for when the riding season returns. In this comprehensive guide, we will outline the step-by-step process of winterizing your motorcycle, covering everything from maintenance to storage tips.
Step 1: Clean and Inspect Your Motorcycle
Before winterizing your motorcycle, it’s crucial to start with a thorough cleaning and inspection process:
Wash and Wax:
Begin by giving your motorcycle a complete wash to remove any dirt, grime, and salt residue that may have accumulated during your rides. Use a gentle detergent and a soft sponge to clean the surfaces, including the body, wheels, and other components. Once clean, apply a protective wax coating to shield the paint and surfaces from moisture and corrosion during storage.
Inspect for Damage:
Next, carefully inspect your motorcycle for any signs of wear, tear, or damage. Check the body for scratches, dents, or rust, and assess the condition of the tires, brakes, lights, and other essential components. Address any maintenance or repair needs before proceeding with the winterization process.
Step 2: Change the Oil and Filter
Properly maintaining your motorcycle’s engine during the winter months is vital to its longevity and performance when spring arrives:
Drain the Oil:
Start by draining the old oil from the engine. Warm up the engine for a few minutes to ensure the oil flows smoothly, then use an appropriate wrench to remove the drain plug and drain the oil into a container.
Replace the Oil Filter:
Once the old oil has been drained, remove the old oil filter and replace it with a new, high-quality filter. It’s essential to adhere to the manufacturer’s recommendations for the correct filter replacement.
Add New Oil:
After replacing the oil filter, refill the engine with fresh, high-quality motorcycle-specific oil. Refer to your motorcycle’s manual to determine the correct oil type and the recommended oil change intervals.

Step 3: Stabilize the Fuel System
Preparing the fuel system for storage is critical to prevent fuel degradation and potential engine problems:
Add Fuel Stabilizer:
Prior to storing your motorcycle, add a high-quality fuel stabilizer to the gas tank. The stabilizer helps prevent the fuel from breaking down and maintains its chemical composition during the storage period.
Run the Engine:
After adding the fuel stabilizer, start the engine and let it run for a few minutes to ensure that the treated fuel circulates through the entire fuel system, including the carburetor or fuel injectors.
Step 4: Protect the Battery
Taking proper care of your motorcycle’s battery during the winter months is essential to ensure it remains charged and in good condition:
Disconnect or Maintain the Battery:
Depending on your storage setup, you can choose to either disconnect the battery from the motorcycle to prevent drainage or keep it connected and use a battery maintainer or tender to keep it charged. Ensure the battery is fully charged before storage.

Inspect and Clean the Terminals:
Before storing the battery, inspect the terminals for any corrosion or buildup. Clean the terminals using a battery terminal cleaner and protect them with a thin layer of terminal protector to prevent corrosion.
Step 5: Protect the Exterior and Components
Shielding your motorcycle from the elements and potential damage during storage is crucial to preserving its condition:
Cover the Motorcycle:
Invest in a high-quality motorcycle cover to protect your bike from dust, debris, and moisture while in self storage. Make sure the cover is breathable to prevent condensation buildup and mildew formation.
Use a Center Stand or Wheel Stand:
To prevent tire flat-spotting and ensure even weight distribution, consider using a center stand or a wheel stand to elevate your motorcycle off the ground during storage.
Step 6: Store Your Motorcycle Properly
Choosing the right storage location and preparing your motorcycle for long-term storage are key components of the winterization process:
Select a Sheltered Location:
Store your motorcycle in a dry, well-ventilated, and sheltered location such as a garage or storage unit to protect it from extreme temperatures, humidity, and potential vandalism.
Elevate the Motorcycle:
If possible, elevate the motorcycle off the ground using a stand to prevent tire flat-spotting and facilitate airflow around the bike during storage.
Step 7: Implement Periodic Maintenance Checks
While your motorcycle is in self storage, it’s essential to perform periodic maintenance checks to ensure it remains in top condition for when the riding season returns:
Check Tire Pressure:
Regularly inspect and maintain the correct tire pressure to prevent flat-spotting and ensure safe handling when you start riding again.

Rotate the Tires:
Periodically rotate the motorcycle’s tires or move the bike slightly to prevent flat-spotting and maintain even tire wear.
By following these comprehensive steps to winterize your motorcycle, you can protect your bike from damage, ensure optimal performance when spring arrives, and extend its overall lifespan. Taking the time to properly prepare and store your motorcycle during the winter months will pay off in the long run, allowing you to enjoy safe and smooth rides when the riding season resumes.
Remember, proper winterization is key to maintaining your motorcycle’s condition and performance, so invest the time and effort now to reap the benefits later.
If you have any specific questions or need further assistance regarding the winterization process, feel free to ask!
Author
-
Arthur Waldmann is the Marketing Director at Iron Storage and a thorough researcher of the self storage industry. Feel free to send any questions his way.
View all posts


